
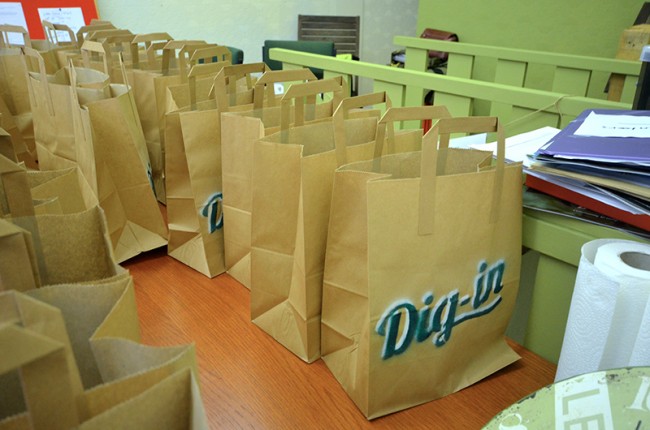
You may have noticed that the lovely veg bags that were made and sold a couple of weeks ago had our logo on them. Instead of spending any money to make them, we put our heads together and got creative to brand up our carriers. We used left over materials donated by one of our volunteers, made a stencil and sprayed it on the bags. It was a bit of trial and error but judging by the reaction to the bags, definitely worth it.

Stencilling is a really cheap and easy way to add your brand to something and spread the word. This tutorial will cover how we cut and sprayed the stencil to our bags. If you would like to find out how to create your stencil design, head over to this great website for tips on stencilling in Photoshop.
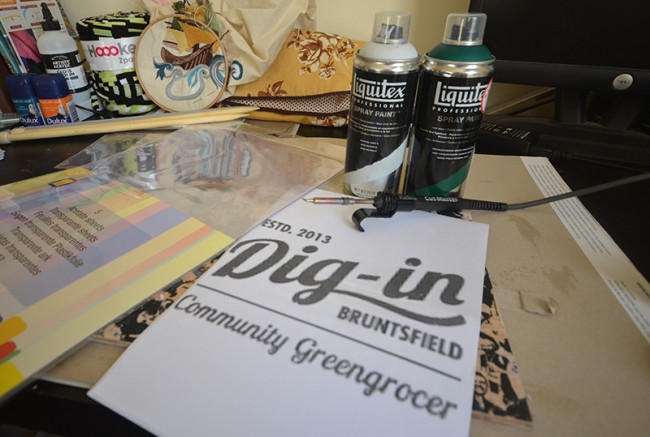
You will need
- Acetate paper
- Spray Paint – try Edinburgh Art Store for lots of colours
- A hot pen (for cutting the stencil)
- Piece of wood or cutting board
- Some paper bags
- tape
- lots of newspaper/bin bags!
- some sand paper
Method
1 – Draw or print out your design onto a piece of normal paper (we used a standard a4 white sheet). Place the design on top of the cutting board or piece of wood. Then place a sheet of acetate on top of the design. The reason we used acetate is because after using the stencil, we can scrub off the excess paint layers and use it time and time again.
2 – Turn on your hot pen and as it warms up, tape down the design and acetate. You don’t want it to slip whilst cutting it out! (your tape also doesn’t need to say ‘fragile’ on it…)
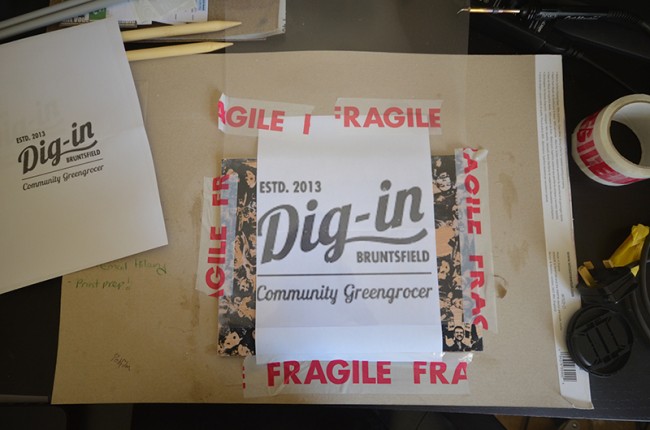
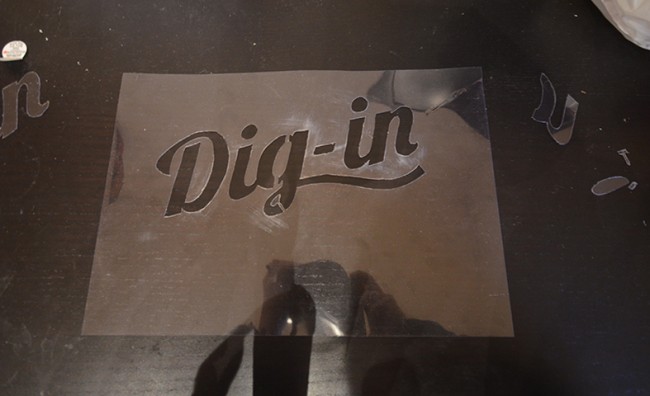
3 – Here comes the bit where you might need a bit of patience. Hot pens are amazing. They let you get really intricate with designs and cut fine detail. if you’ve never used one before though, practise on a scrap piece of acetate to get use to the speed and pressure you need to apply when cutting the stencil. Once your confident – then off you go! Cut around the outlines like this:
4 – Are you done? Great! Now, you may have noticed that the edges are a little jaggy. Use your sandpaper to soften them. Sand gently across both sides of the stencil. Doing this will also make sure you get nice crisp lines when spraying.
5 – OK, it’s spray time. Now, we had to do our bags indoors (living in a garden-less city flat block isn’t the best location for this craft) so we covered the whole room in bin bags and newspaper and wore masks. If you have a garden, cover a section in bing bags (which you can still use afterwards) and do it there.
Grab your bag and stick the stencil on top. Then stick a scrap bit of newspaper above the stencil to protect the rest of the bag when spraying, like this:

6 – Make sure the bag is as flat as possible to avoid overspray (something we didn’t manage to do given the not-so-good spraying conditions). Shake the can, hold directly over the top of the stencil around 15-20cm away and spray. Keep moving from left to right across the design until it’s all coloured in. Leave for a few minutes then lift.
HOORAY! You’ve made your bag.
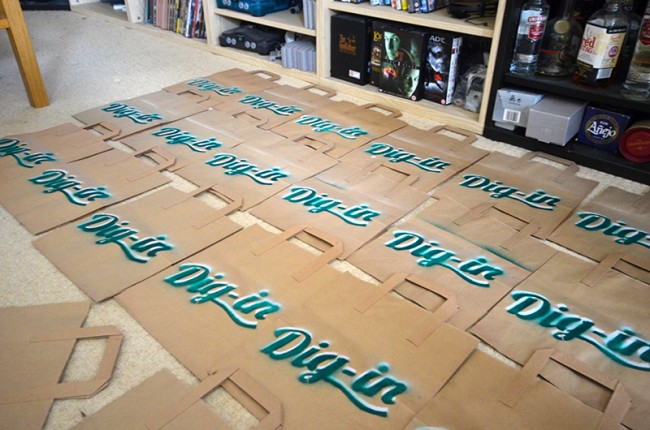
7 -Now! we sprayed a two-tone effect on our bags to encompass the Dig-In colours. To do this is easy. After you’ve sprayed the first colour (and it’s dry), wash the stencil and place it back on the bag. Now, move it down 2cm and to the right 2cm and spray your second colour. It should then look like this:
Now leave them all to dry (you can see some of the first trials in this photo – see what I mean about overspray on the bags?)
Repeat the process onto all of your chosen bags, buckets, signs and leaflets until your branded up and looking fab!